Headstone Flower Saddle: A Tutorial in Seven Steps

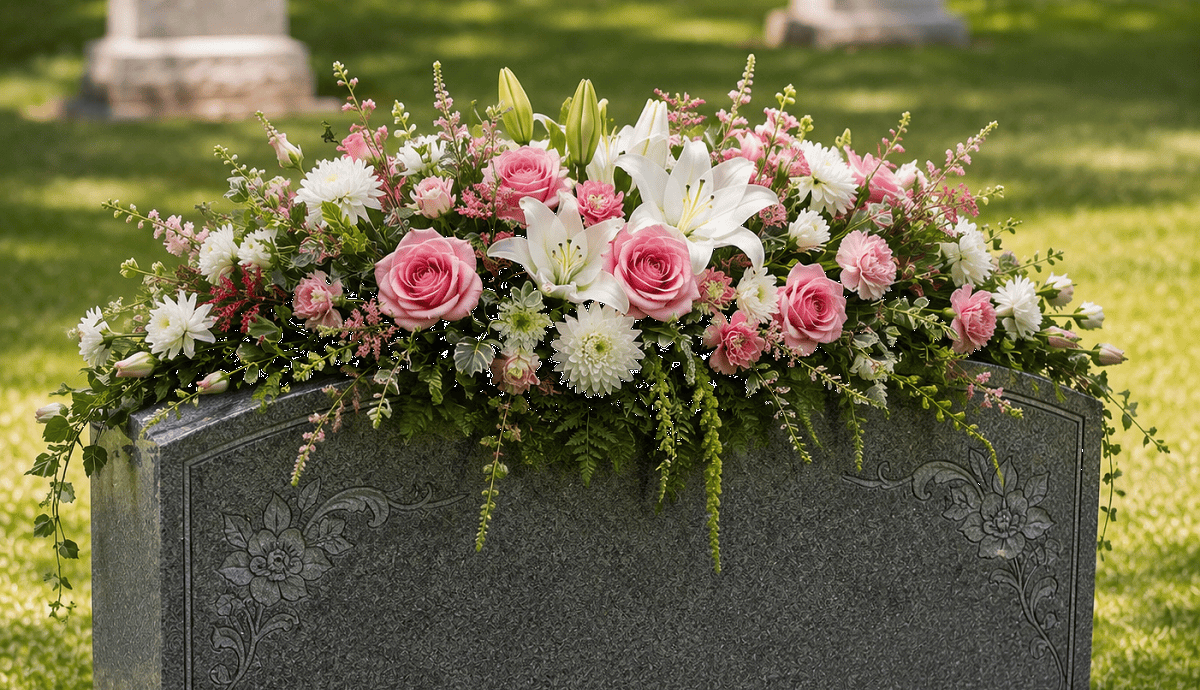
There are topics that are better written in articles, but there are some that deserve workshops and laboratories. This is a workshop about the headstone flower saddle – the frame designed to sit astride the monument’s top and support a flower arrangement thereon. It is a craft, and families learn it most effectively the way we teach it to new members of our team: on a workbench, step by step, with mistakes warned ahead of time. So this is a tutorial. Set aside an afternoon, and when it is over, you will know how to choose a saddle for your stone, fit it to it without damaging the granite, decorate it according to any season of the year, and respect all the cemetery regulations related to this craft. Apron is optional, care is mandatory.
Materials. One headstone flower saddle, sized to your stone (that is step one in this tutorial); floral foam bricks or foam/cage insert, suitable for outdoor use; greenery for the base – evergreen branches in winter, eucalyptus or ferns in other seasons; focal flowers (artificial for longevity or fresh, depending on the nature of the visit); wire, 22 gauge; wire cutters; ribbon (if needed), suitable for outdoor use; and a soft cloth for cleaning the stone’s crown both before and after decorating it. Adhesive, suction and any other means of forcing the material to stick to the stone are not to be found among these materials. If a product promises to “attach” to the monument – discard it right away; the saddle’s only strength lies in the perfect fit and gravity.
Step one: measure the stone, not your hopes. A saddle is sized according to the thickness of your upright or slant marker’s top. Measure the front-to-back distance across the crown of the monument in inches, and find the saddle whose clamp range brackets this measurement. The biggest mistake of this craft is ordering a saddle visually – a too-wide saddle will rock in the wind, while a too-narrow one will never sit properly. Serpentine-shaped or curved-top stones require adjustable saddles, while flat markers do not need them at all (the flower rights of these monuments go through flush vases; there is a separate tutorial for them). If you own one of our monuments, please call us and provide your order number – we will find the crown measurement on the design file as you hold the phone.
Step two: check it with the office. Before you dress the stone for the first time, please check your cemetery’s policy regarding decorations. Most grounds allow headstone flower saddles in the posted seasons precisely because these saddles protect the stones from leaning and taped arrangements; some limit artificial materials by season; a few grounds, that are strictly for flat markers, have no saddle-compatible monuments at all. A quick call will sort your cemetery out, and our tutorial recommends getting the restrictions in writing. Craft always develops within clear borders.
Step three: build at the bench, not on the stone. Decorate the saddle at home, on a table, where your hands are warm and the wire behaves. Put the foam in the frame; secure it with the cage or wire wrapping; then build the flower arrangement according to the florist’s instructions – greenery first, creating a low and broad base to follow the arch of the saddle; focal flowers next, using an odd number of flowers with the largest one at the center; filler and trail flowers last, allowing materials to spill a little bit down the slopes of the stone’s crown, which is the point of the entire craft. Keep the arrangement below eight inches in height: saddles look beautiful as crowns, not as a hedge, and wind agrees.
Step four: set it like a hat, not like a clamp. In the cemetery, wipe the stone’s crown clean with the soft cloth (grit under the saddle causes scratching, not the saddle itself) and open the frame carefully, placing the saddle on the top of the stone and letting it settle by its weight, until it becomes stable. Test it with two fingers pressing sideways: it must resist like a well-fitted hat. Do not try to force a tight saddle onto a wide stone: that is how granite polish meets its only enemy on this bench, and the solution is not in forceful action but in finding the right size of the saddle.
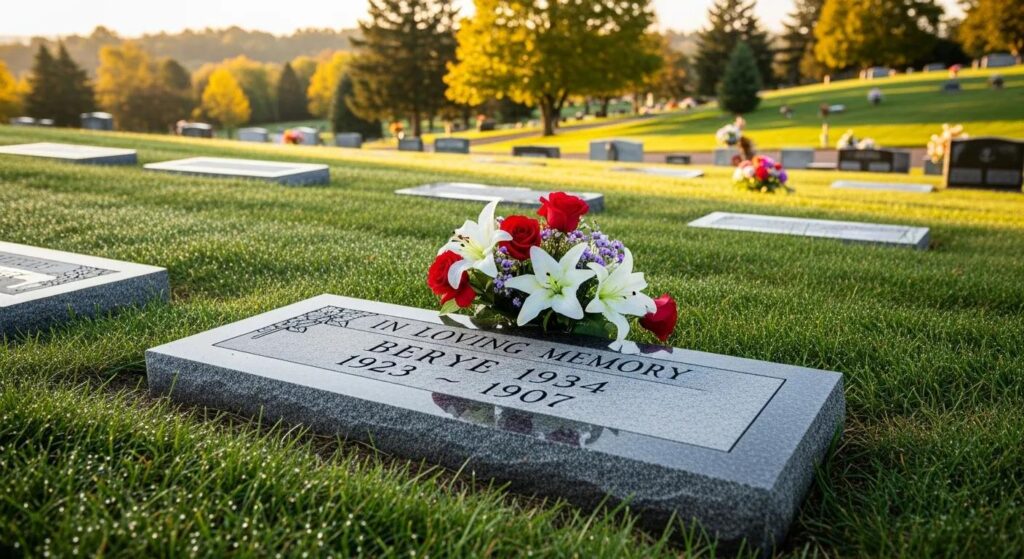
Step five: dress according to the season, in season. The calendar of the craft from our workshop experience: winter is the most active season for saddles – evergreen, pine cones, holly, outdoor ribbon, the Christmastime crown, looking so nice in snow; the winter decorations should be artificial or dried and able to survive months. Spring and summer suit lighter silks or, for the days of visits, fresh stems arranged in soaking foam that morning. Autumn takes the harvest palette and, in our experience, wins the wind contest in any season if you wire each stem separately. Around the flag-decorating holidays, do not place your arrangement too close to the emblem or the flag of veteran markers – the saddle crowns, the flag rules, and they should not interfere.
Step six: maintain regularly. A saddle arrangement is a lease, not a monument (and thus falls under the cemetery’s removal clause entirely), so visit it. Rewire any loose stems, retire any sun-faded silk flowers before they become gray – faded arrangements convey the impression of absence, opposite to the aim of the decoration – and lift the saddle between the seasons, cleaning the stone’s crown with a soft cloth. Granite, covered with a well-maintained saddle, remains pristine; granite under an abandoned saddle accumulates a tide line. Ten minutes per season is all the maintenance that is needed.
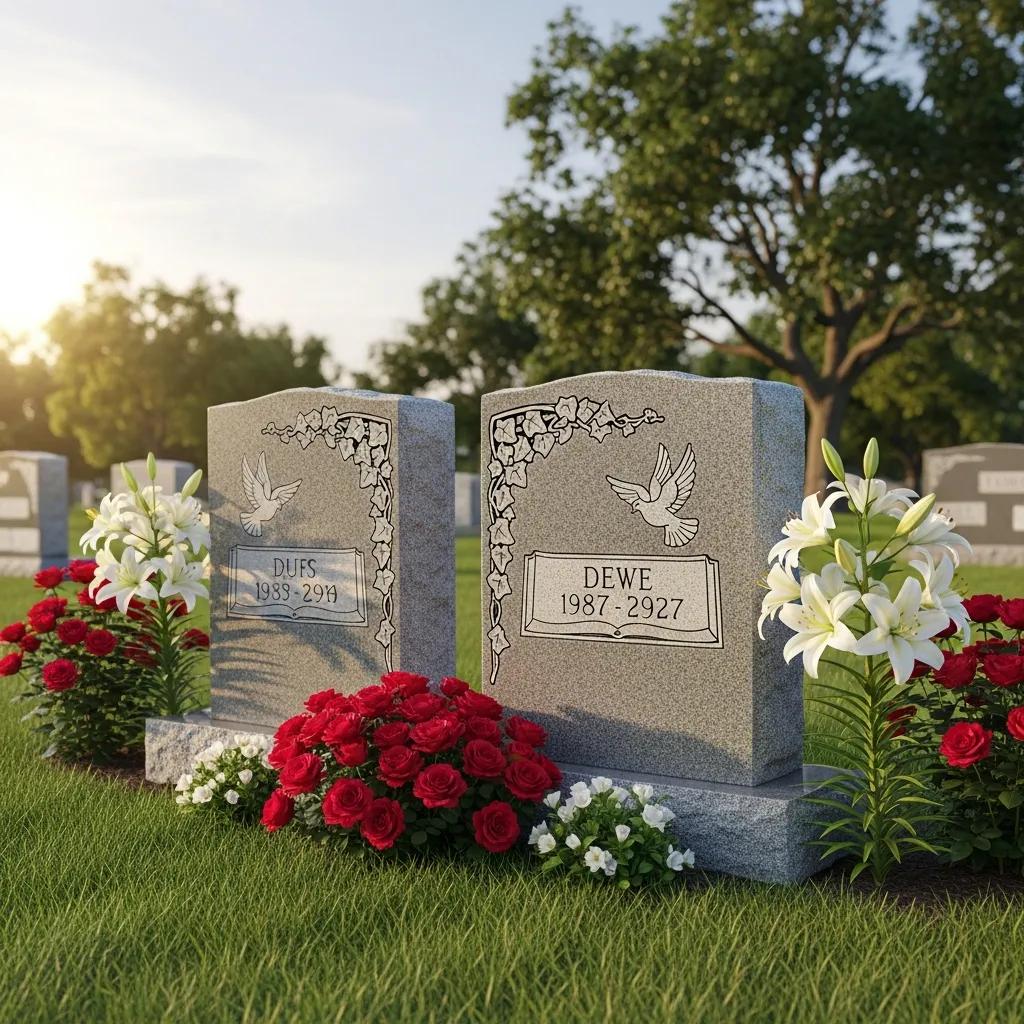
Step seven: retire with dignity. When you remove the season’s arrangement, do it at the bench: lift the saddle, clean the stone’s crown, take the frame apart and store it dry until the next dressing day. Our families who maintain the rhythm tell us that dressing days become a kind of family tradition – assigning the ribbon to the granddaughter or renewing the pine cone debate annually. The workshop fully approves this approach – this craft is not just about the flowers.
Troubleshooting. Saddle rocks – incorrect clamp range or grit under the saddle seat; fix either. Arrangement looks off-centered – rebuild it, starting from the greenery base; asymmetry begins at the bottom. Wind constantly defeats the arrangement – reduce the height, wire every stem and accept that some ridgelines of the stone can only be decorated with vases. Faint line appears at the stone’s crown – lift the saddle for a season and clean the area with plain water and a soft-bristle brush only (do not use pads or chemicals, as this line is biological and wipes easily).
Our workshop’s final comment. All the information above presupposes that your stone has a crown to decorate, which is where our part of the business starts: upright and slant markers of proper dimensions for saddles, granite vases to decorate during the period of fresh flowers, porcelain photos and engraved floral designs to commemorate the sentiments that should never disappear – all presented to you in 3D for free, revised as many times as necessary, with the engraving included, free shipping, and 0% payment plans to fit the monument to your family budget. Measure twice, call the office once, build at the bench, seat like a hat. Class dismissed – and your pine cone debate is scheduled.